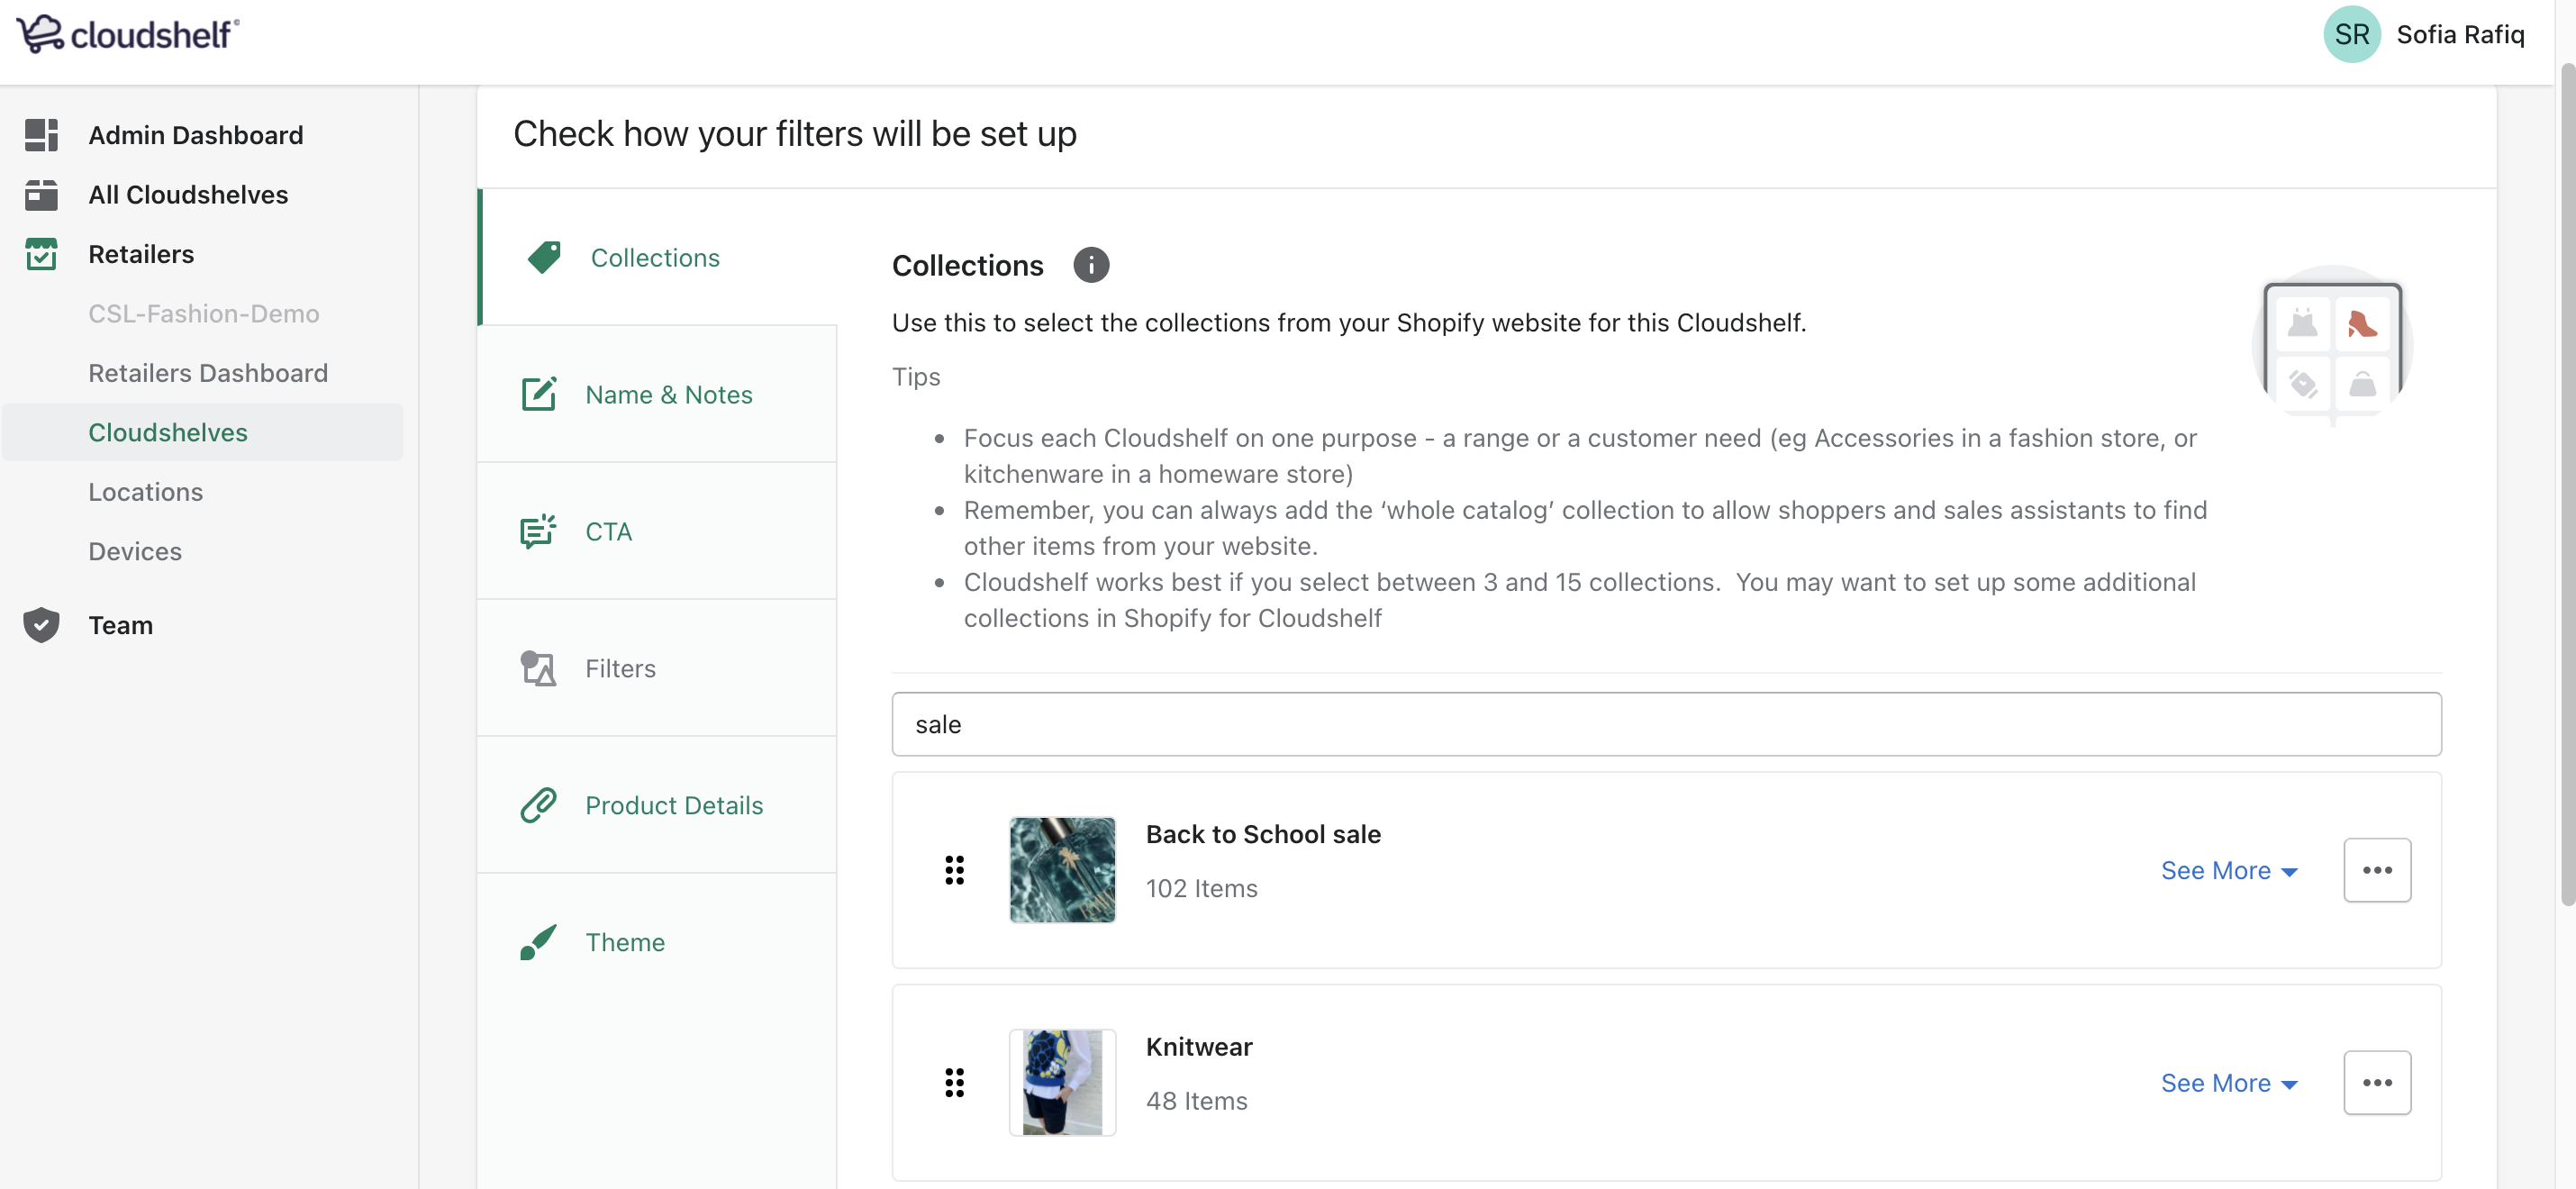

Here are some quick steps to add your new sale collection to your Cloudshelf.
1. Open your Cloudshelf
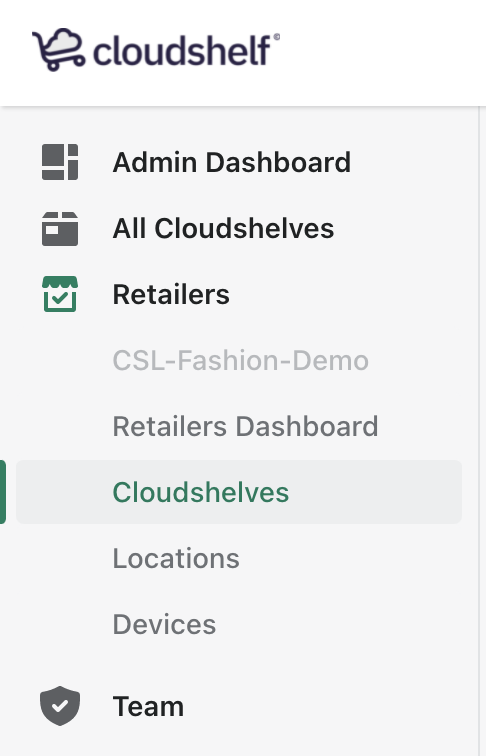
Log in to your Shopify account and open the Cloudshelf app. On the left you will see a list of options. Select Cloudshelves:
2. Find and select the sale collection
Type 'sale' in the search bar in the collections section and your collection will appear. Tick its check box and it is added to your current Cloudshelf.
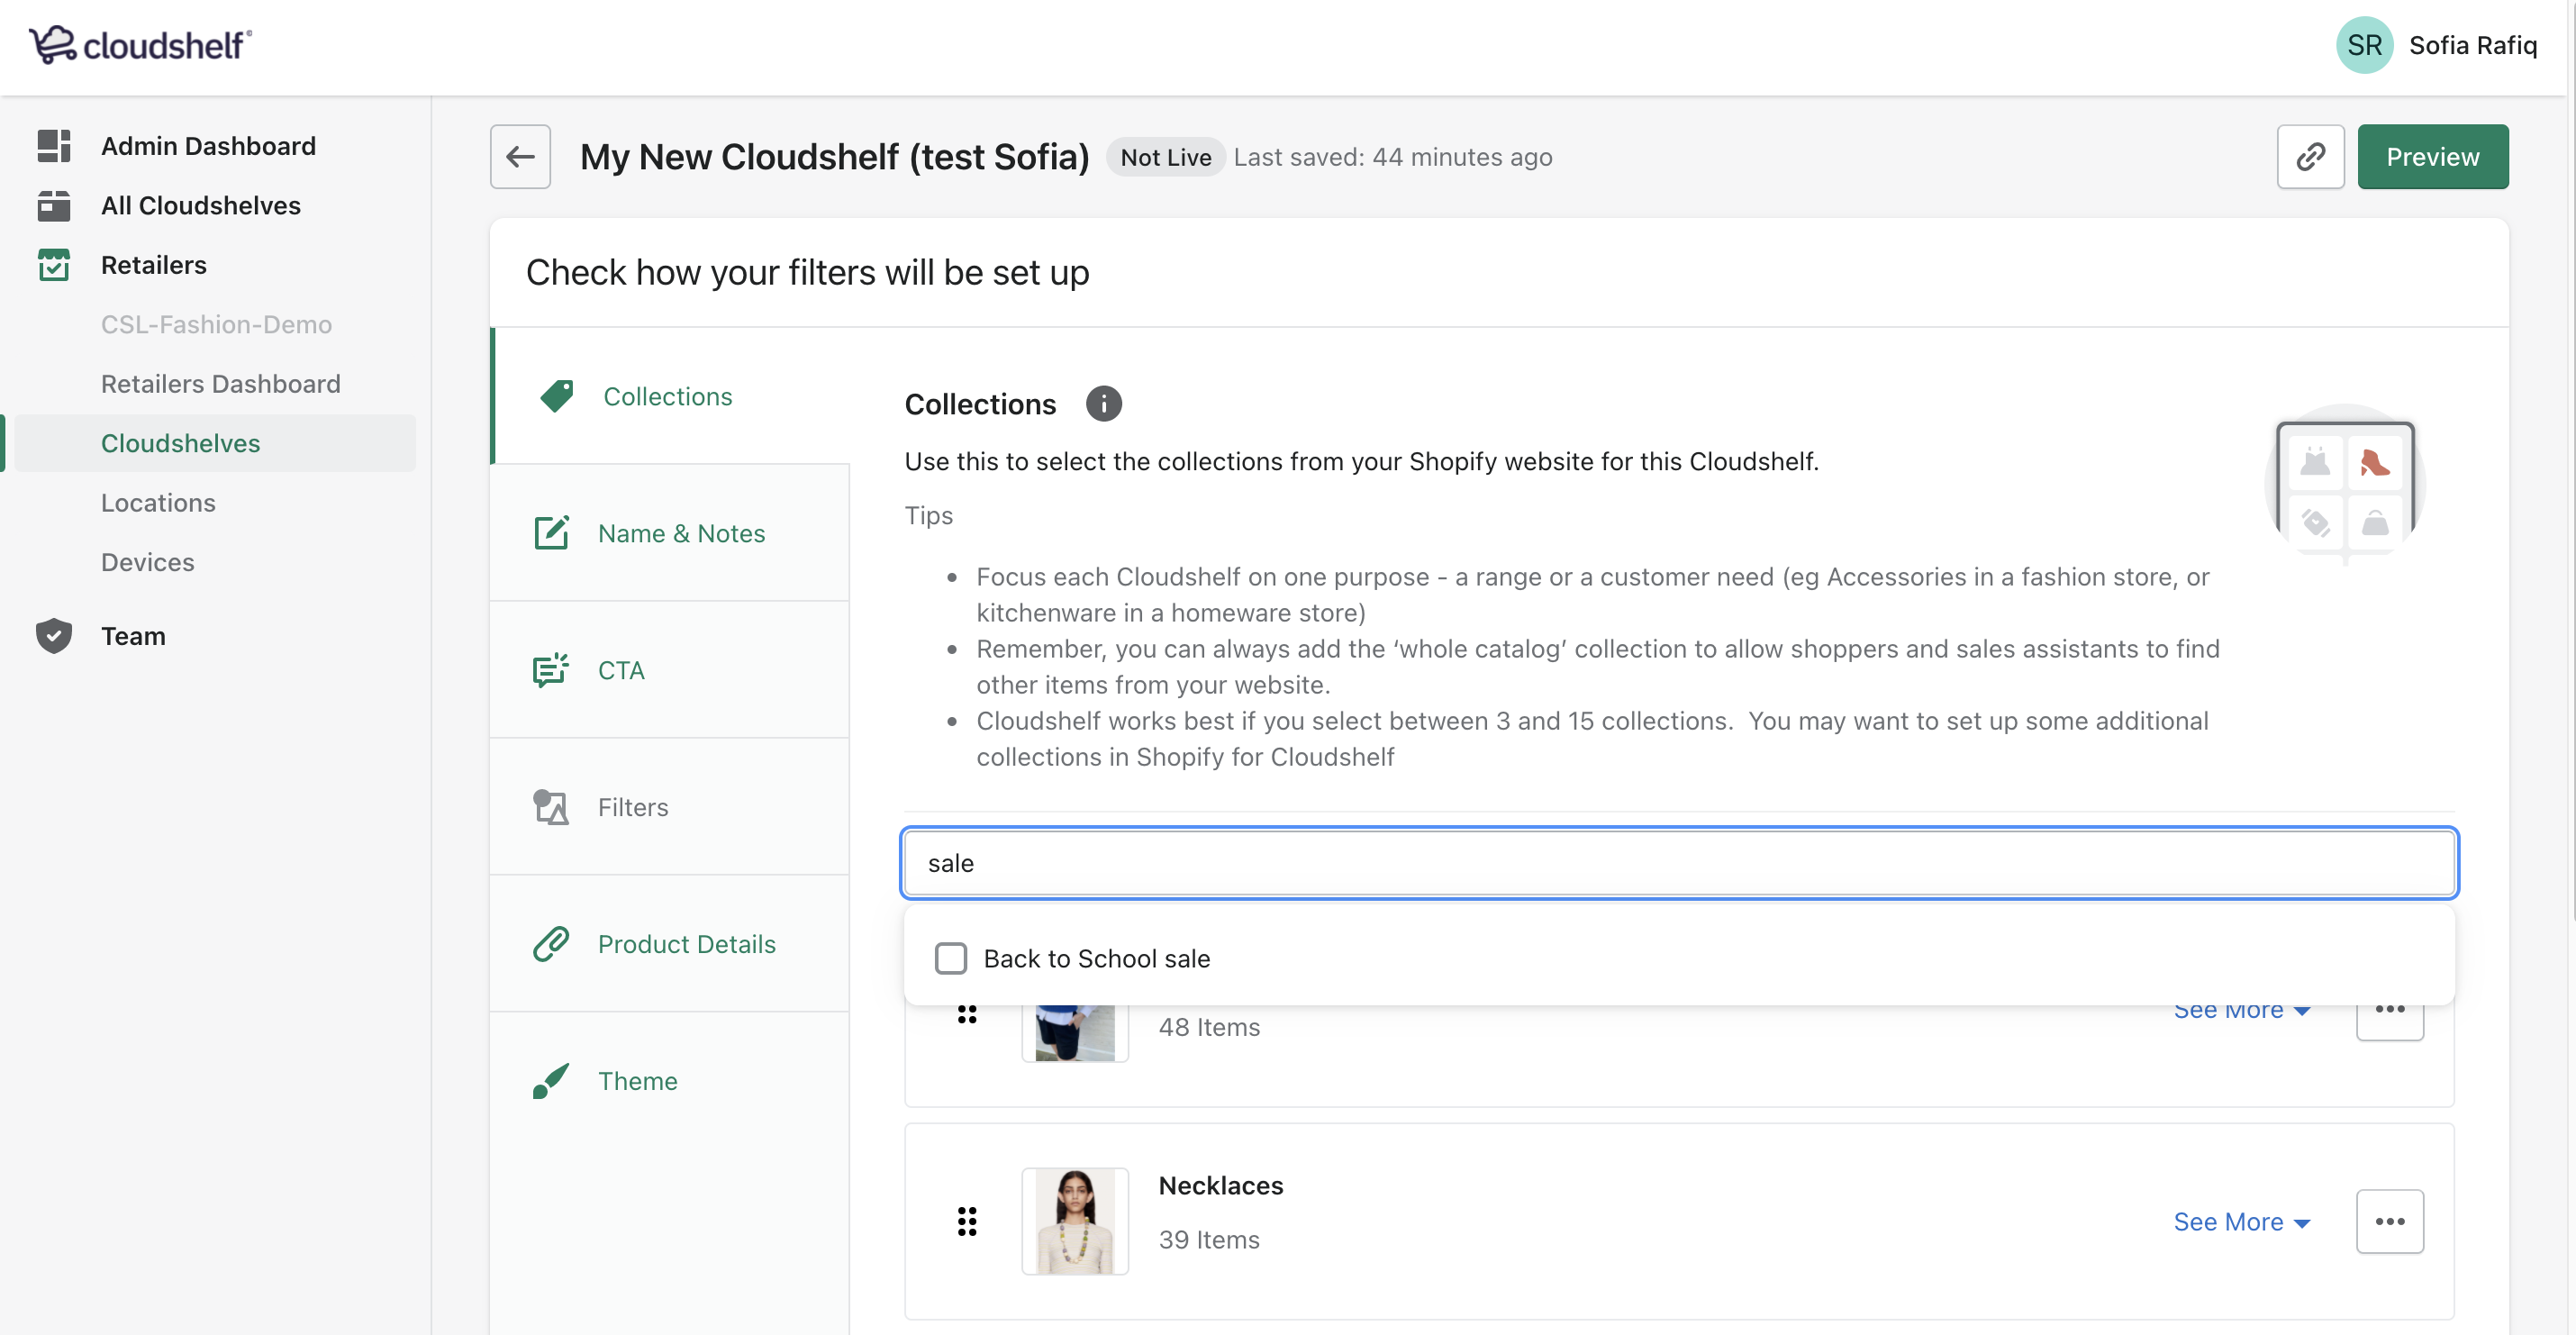
3. Move it to the top
Your sale collection appears at the bottom of your collection list. Move it to the top so it is the first collection shoppers see. Click Preview to see it in your browser. After 1–2 minutes your Cloudshelf kiosk will also update.