
Installing Android Kiosk locks Cloudshelf to the screen and launches it automatically as soon as the device is plugged in. It also stops customers (and children) exiting the app by accident.
Setup takes around 10 minutes per device.
1. Connect to Wi-Fi and sign in to Google Play
Connect the device to Wi-Fi and log in to the Play Store with your Google credentials.
2. Before installation
Open Google Play and make sure Google Chrome is fully up to date, ideally version 106 or above. Cloudshelf will not run at all on any version before 87.
3. Download Android Kiosk
- Install via an APK. Download the latest version by entering this URL into Chrome: https://kbremote.blob.core.windows.net/apk/current/com.procoit.kioskbrowser.apk
- You'll need to buy a one-off licence for $6 per device to keep Android Kiosk running.
4. Installation
Your download will appear in your browser. Click it and select 'Install'. Once the APK is installed, do not press OPEN, press DONE instead.
Now press your home button. You may be asked to "Select a home app". In our case we see:
- Kiosk Browser
- TouchWiz Home
- Kids Mode
- Click the default stock launcher, for us "Kiosk Browser". This opens the Android Kiosk app. To continue, click 'Settings' from the menu on the right-hand side by clicking the three dots (the default password is 0000). Then click Exit to Launcher. This takes you back to the Android menu.
- Use the normal Android interface to find the "Kiosk Browser" application, and follow the on-screen instructions to grant all the permissions. When it takes you to a settings page, change the permission it asked for, then use the back button to return to the permissions screen. Note: this is a recursive process, so you WILL have to do this several times.
- Once the permissions are granted, it should ask whether the app can be a Device Administrator. Grant this too.
- Finally, it will ask you to "Select a Home app" again. This time select "Kiosk Browser". If it doesn't ask, find the "Kiosk Browser" application in the normal Android interface and open it.
- Click 'Settings' in the top right corner (the three dots). A banner says the device is unlicensed, and this is where you enter your licence key.
5. Configuration
- If the app tries to give you a guided tour, press SKIP in the bottom left. This should load Google.
- In the top right-hand corner, click the three vertical dots, then Settings.
- Enter the password
0000and click OK. - Click
Advanced→Automatic Config URL, and set it tocloudshelf.ai/device/androidkiosk.json - Make sure you are back in the main settings menu (titled Settings). If you don't see this title, press back (the arrow in the top left).
- Click
Admin→Download Automatic Config. It will look as if nothing has happened. This is normal. Press back to return to the main settings window. - That's it, all done.
6. Confirm the config was set correctly
- Click General. Under Kiosk URL you should see https://device.cloudshelf.ai
- Once setup is complete, go to Settings → Advanced → Automatic Config URL → delete (set to blank). This lets the customer update settings without them being overridden by Cloudshelf's defaults.
7. How to exit kiosk mode
- Tap 4 times quickly in the same spot, then enter the password you configured in the settings (0000 if you didn't change it).
- If tapping 4 times doesn't work, swipe down from the top of the screen to open the green Android Kiosk menu, click the three dots and select 'Settings'. Enter the same PIN. Select the back icon to return to the Android settings menu. Go back again and it will ask you to choose the device's default launcher. Once selected, you are back in the Android menu.
- To launch Android Kiosk again, find it on your device and open it. Cloudshelf launches again.
8. Pair the device
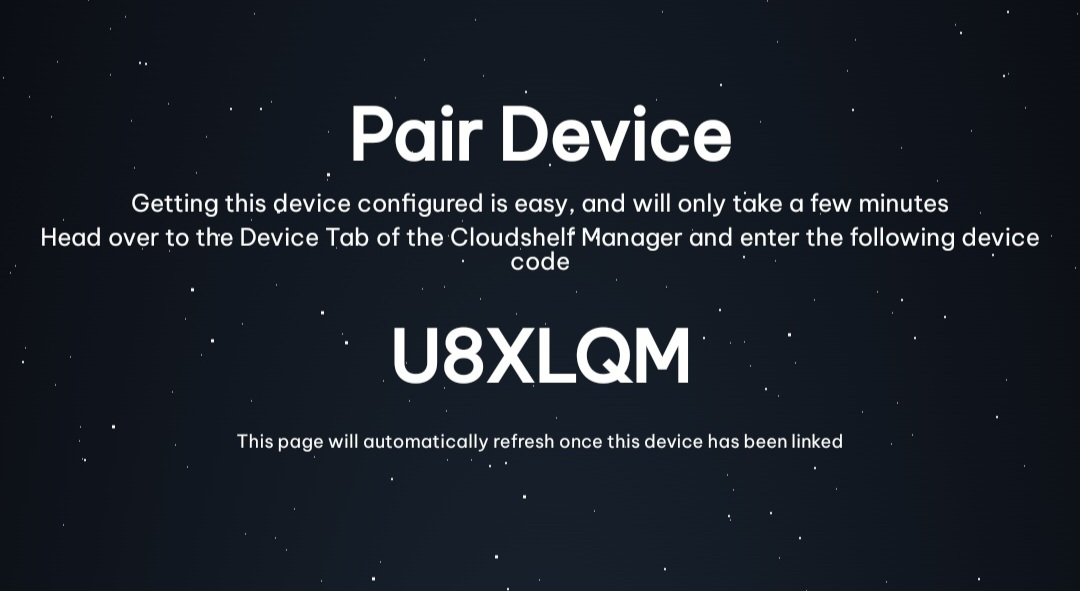
- Pair the device in the Cloudshelf app by clicking 'Devices' and selecting the Cloudshelf you want to display, or email the pairing code to support@cloudshelf.ai and we will pair the device for you.
9. Reboot the device
Reboot the device to check that Cloudshelf launches automatically into the customer's experience.
10. Before shipping the device
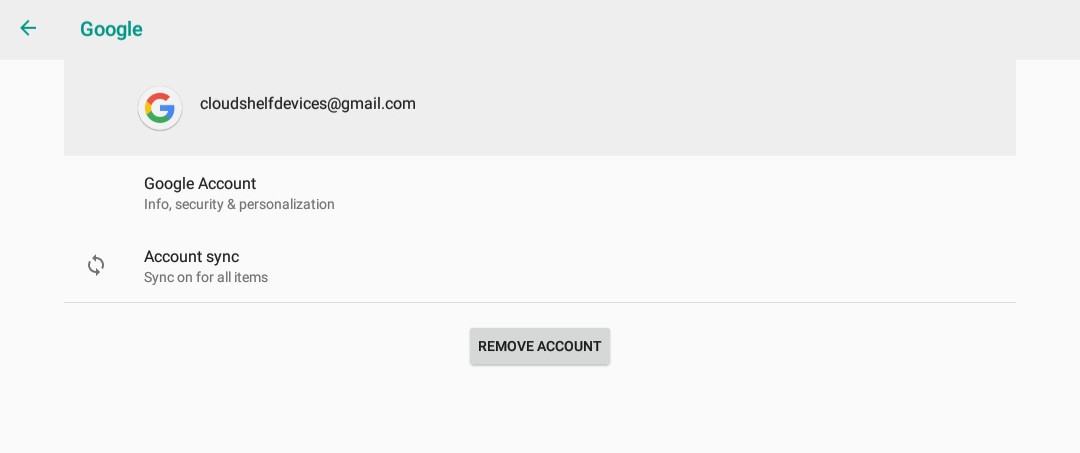
- Go to device Settings → Users and accounts → remove the account from this device.