

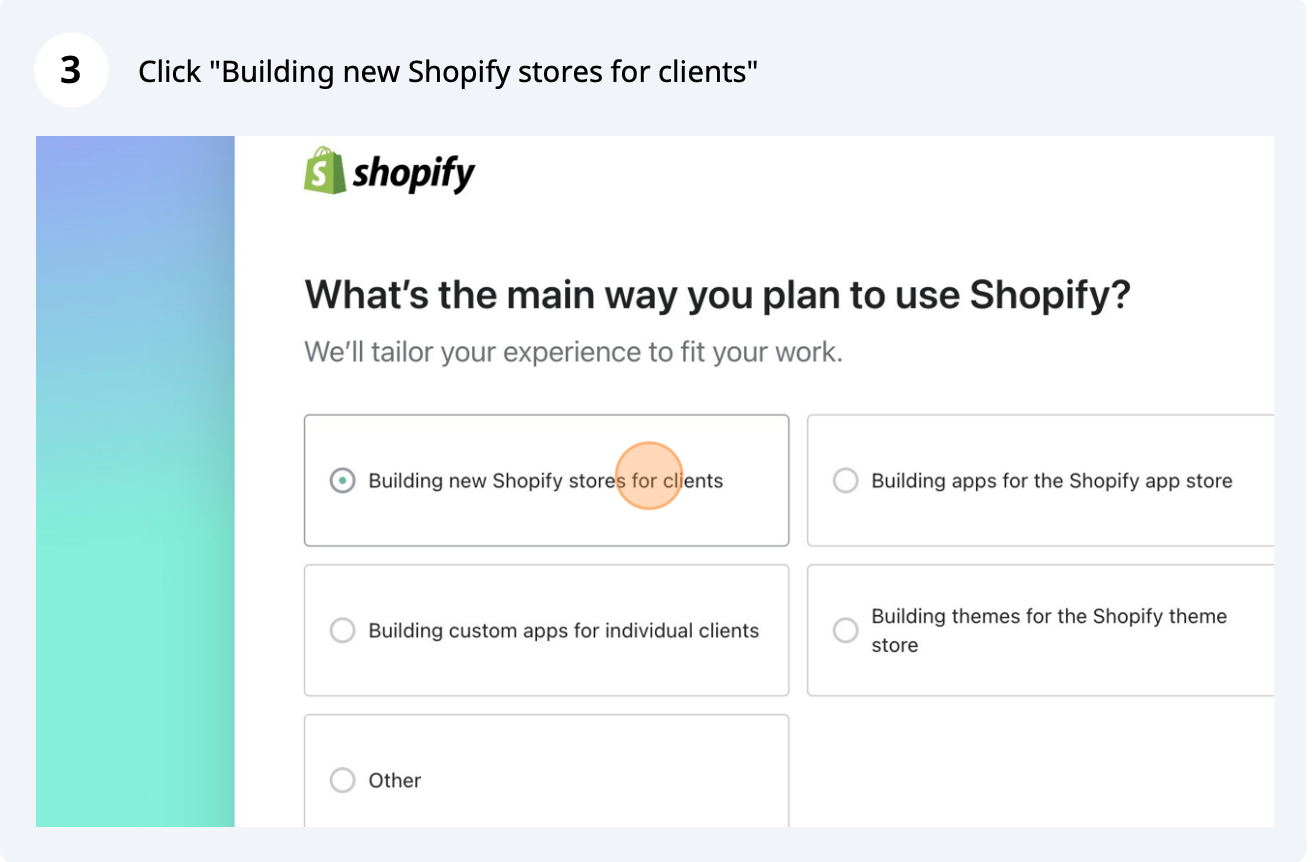
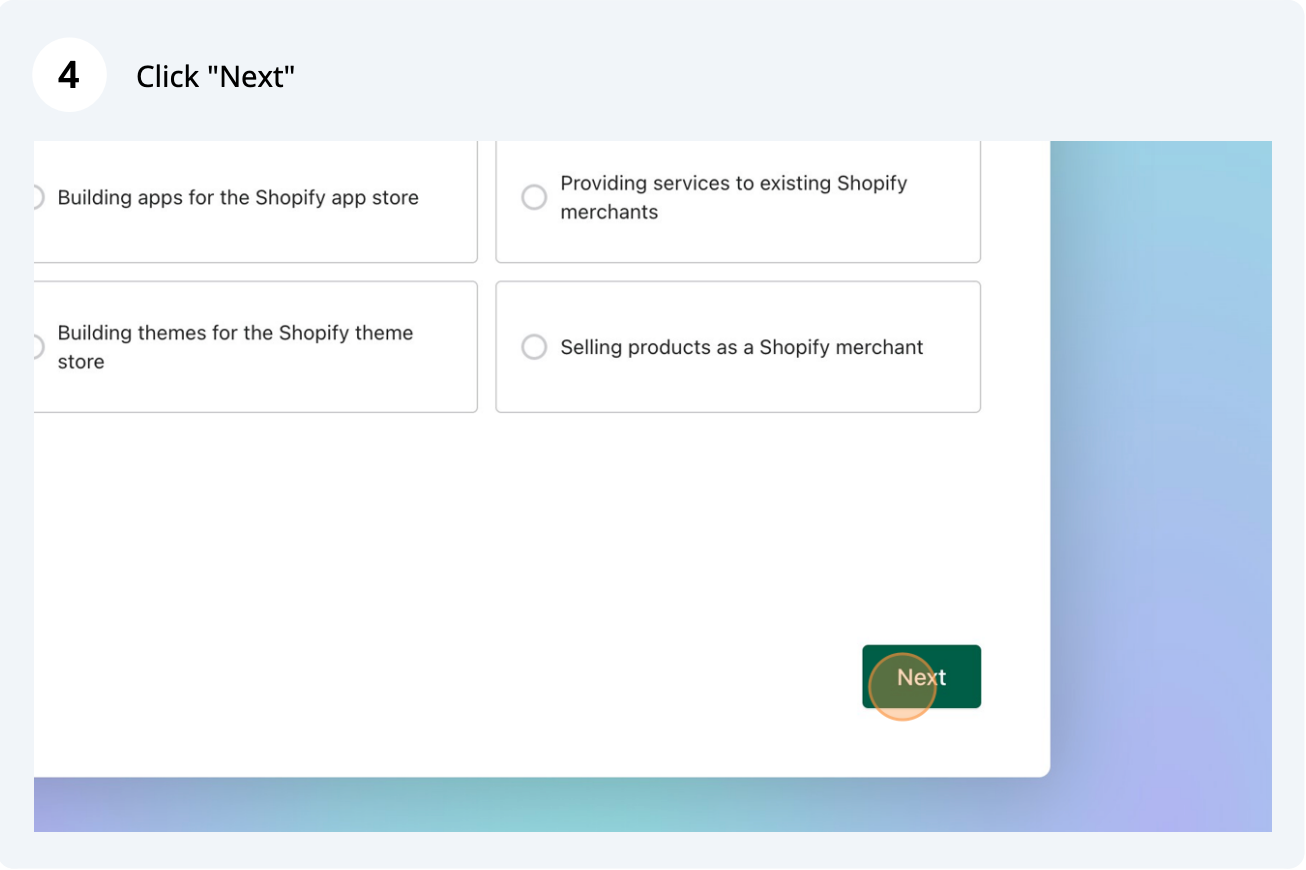
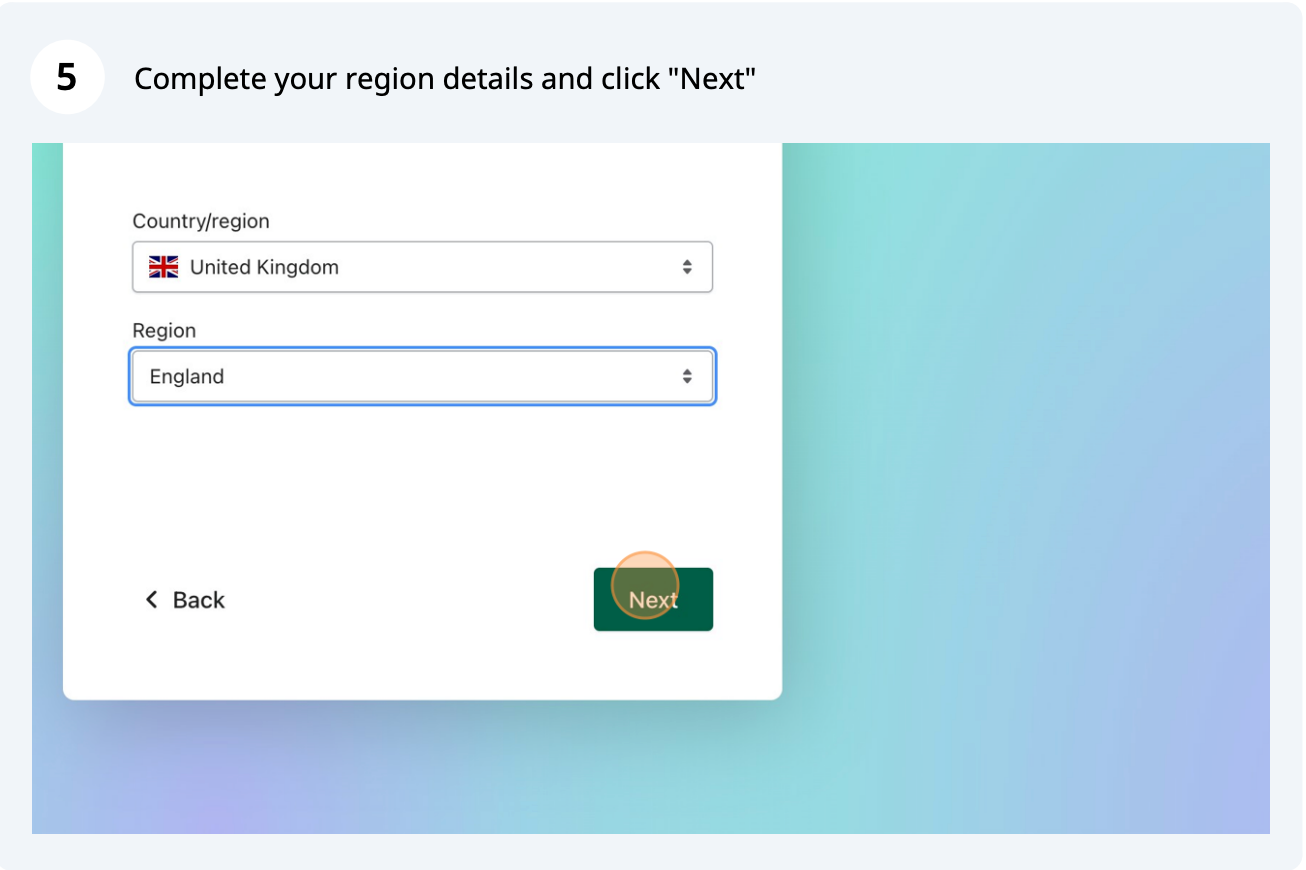
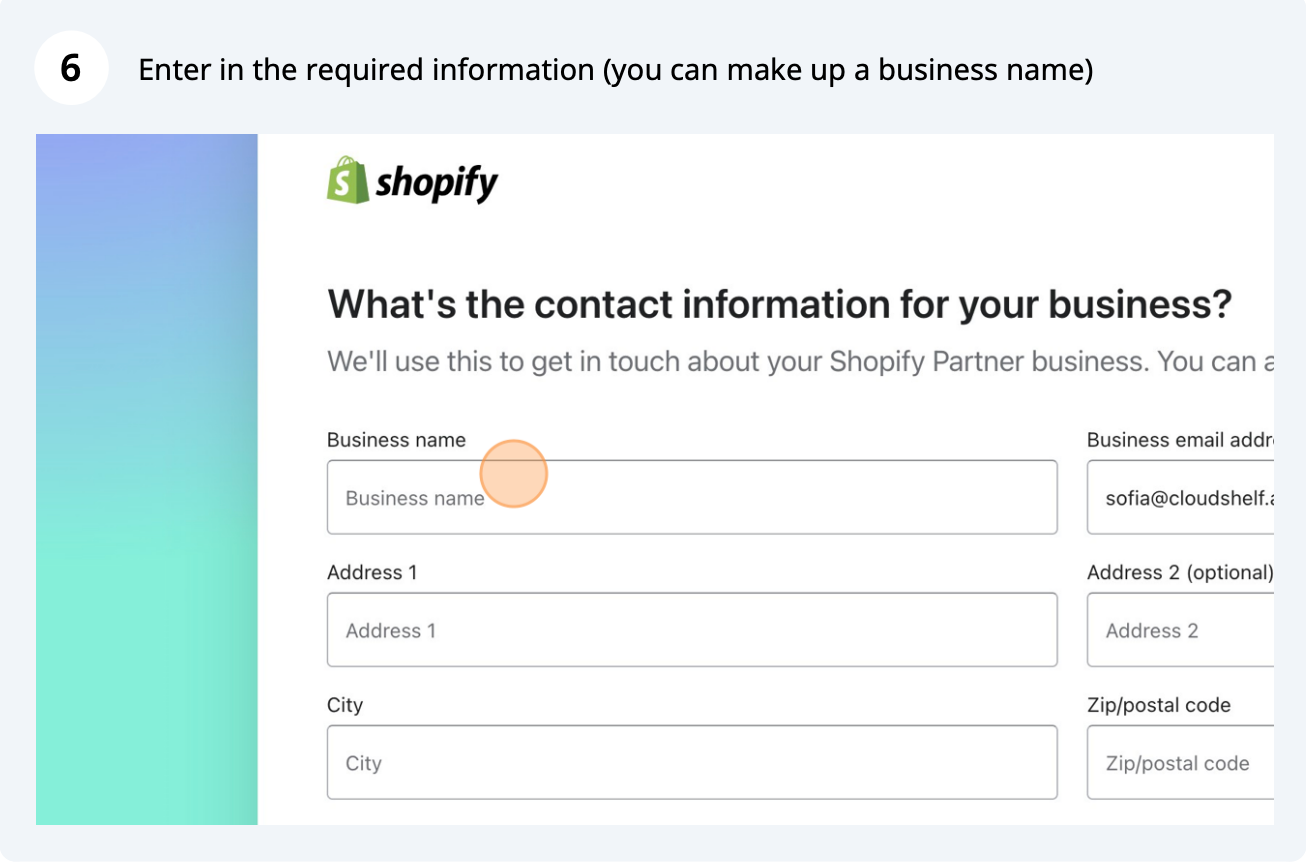
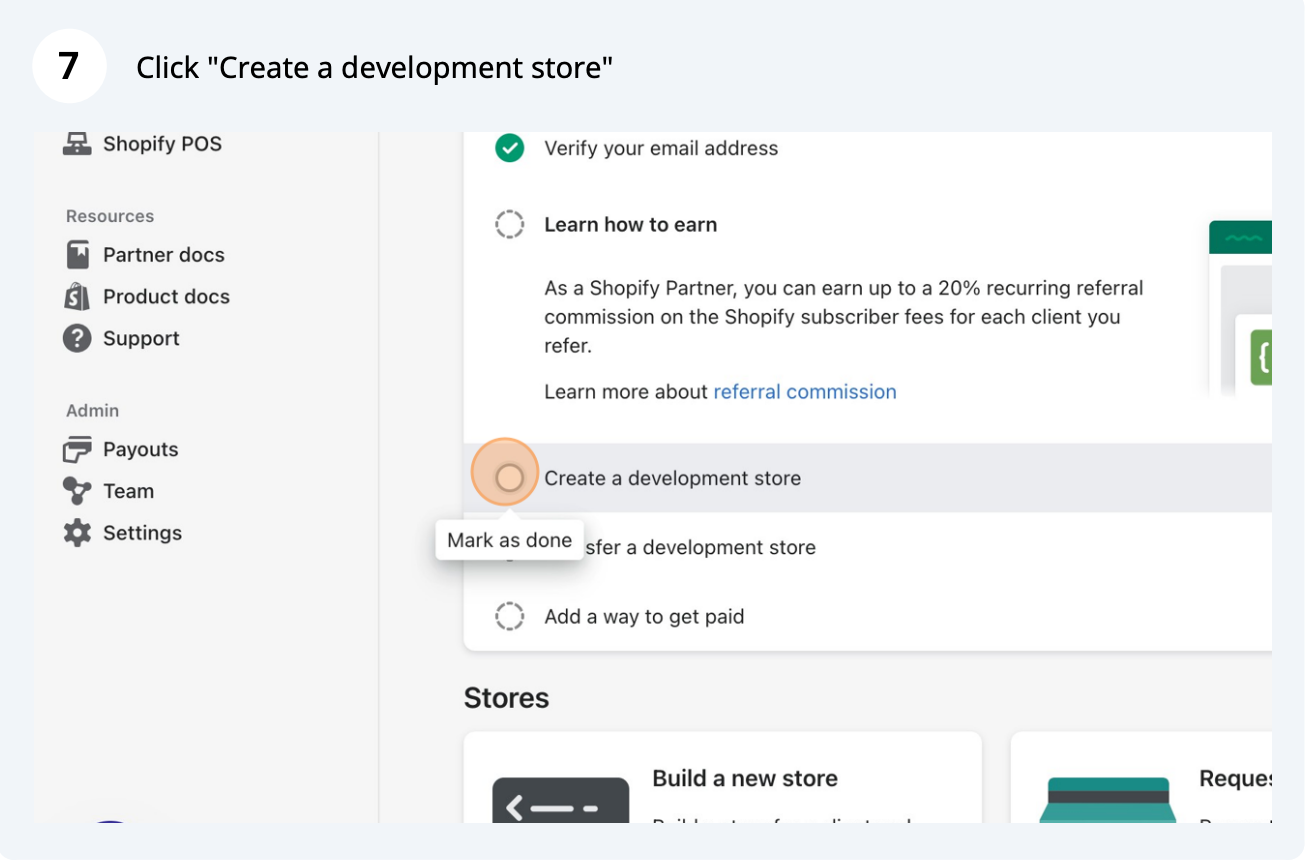
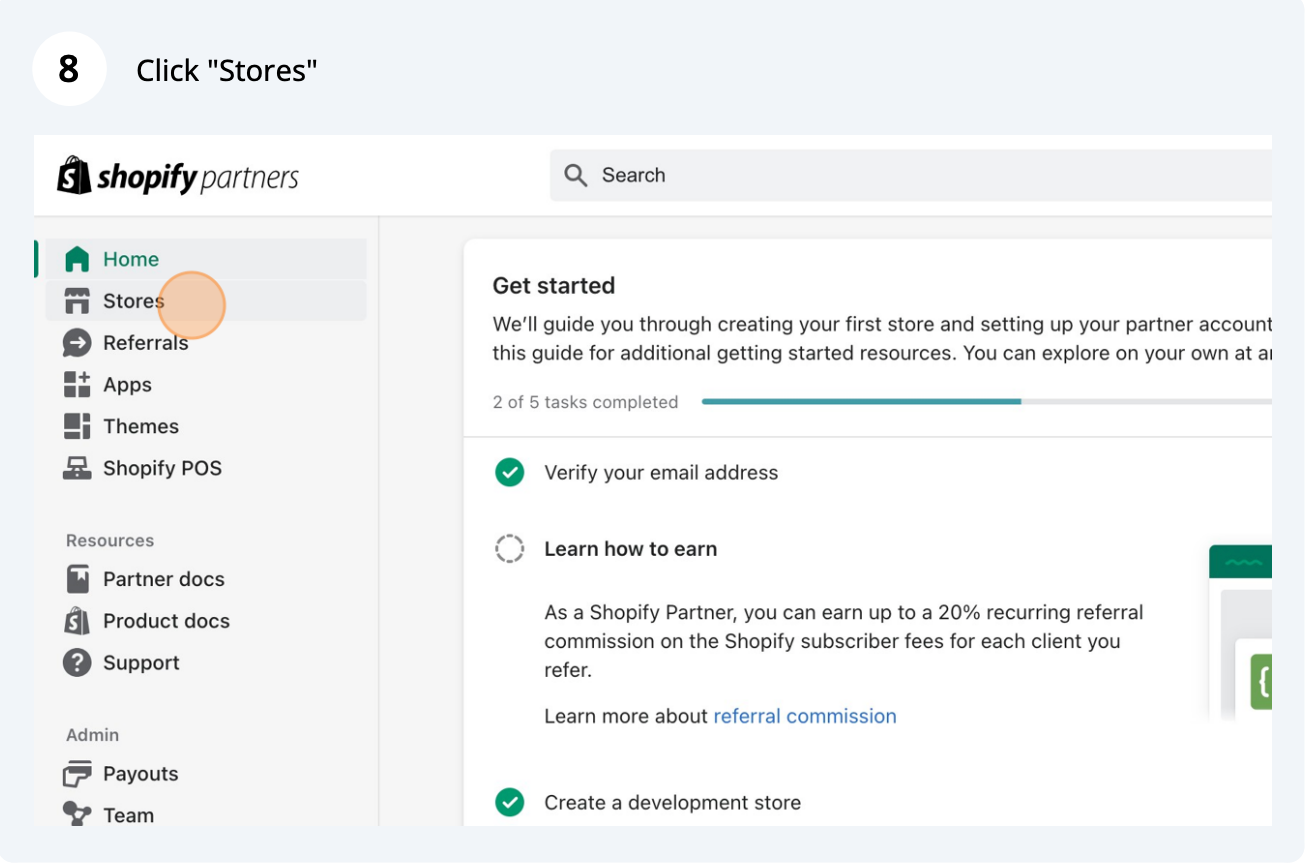
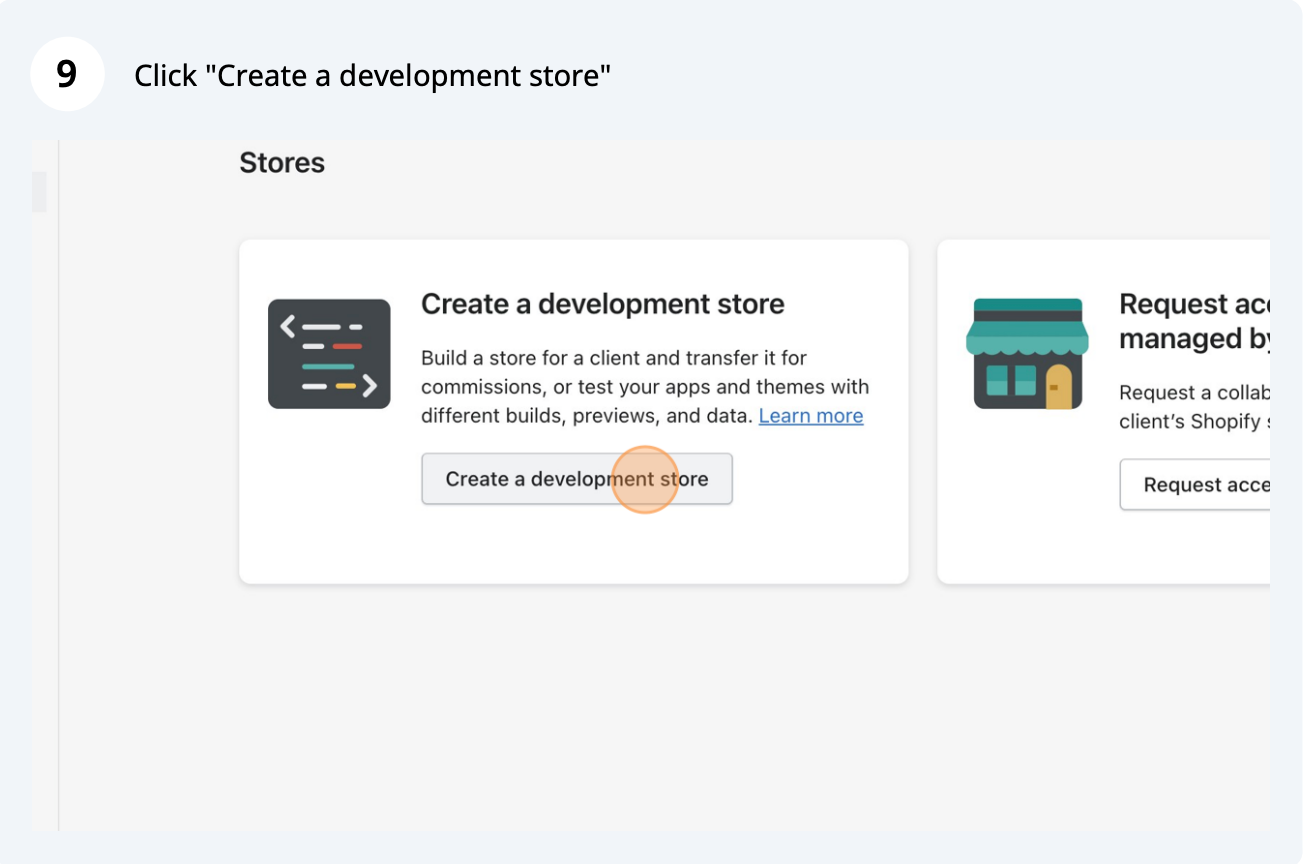
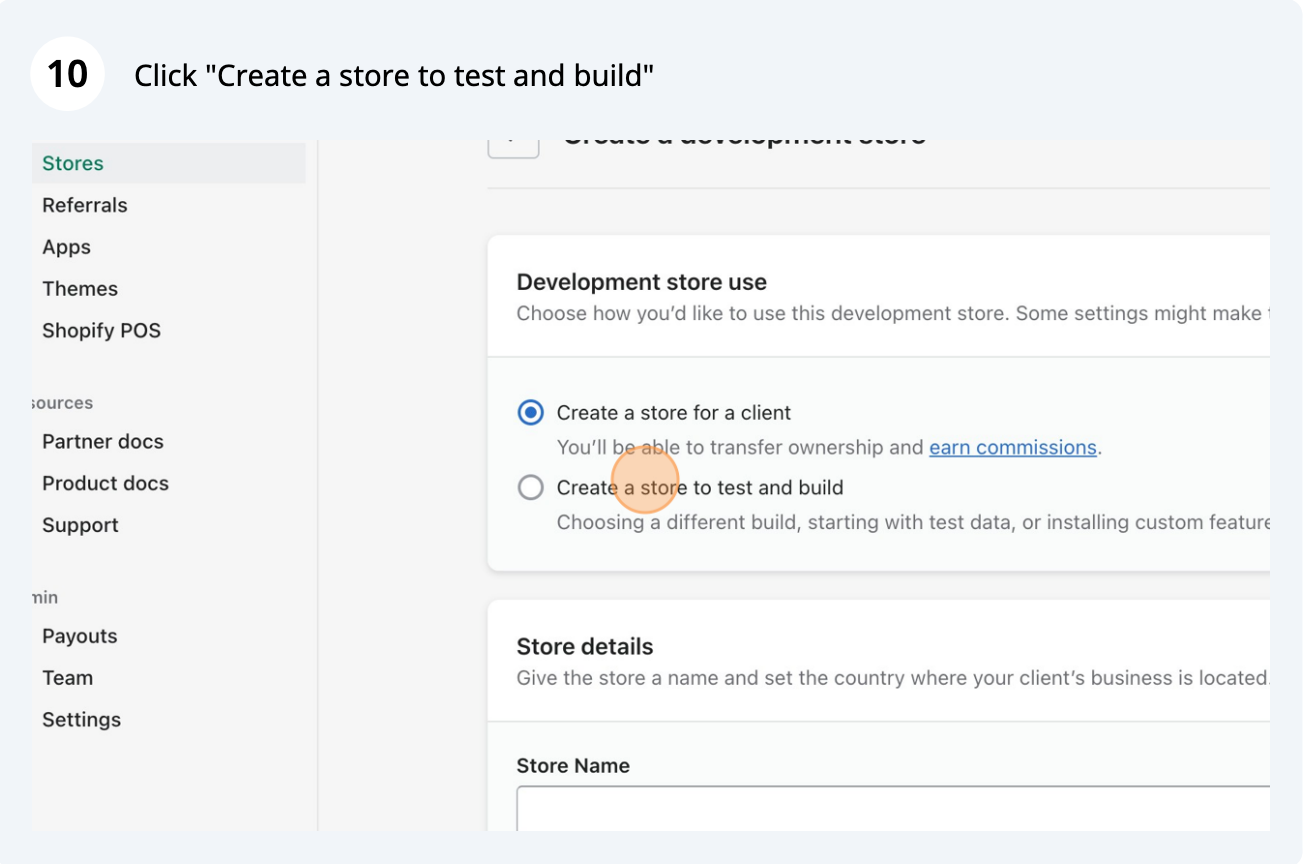
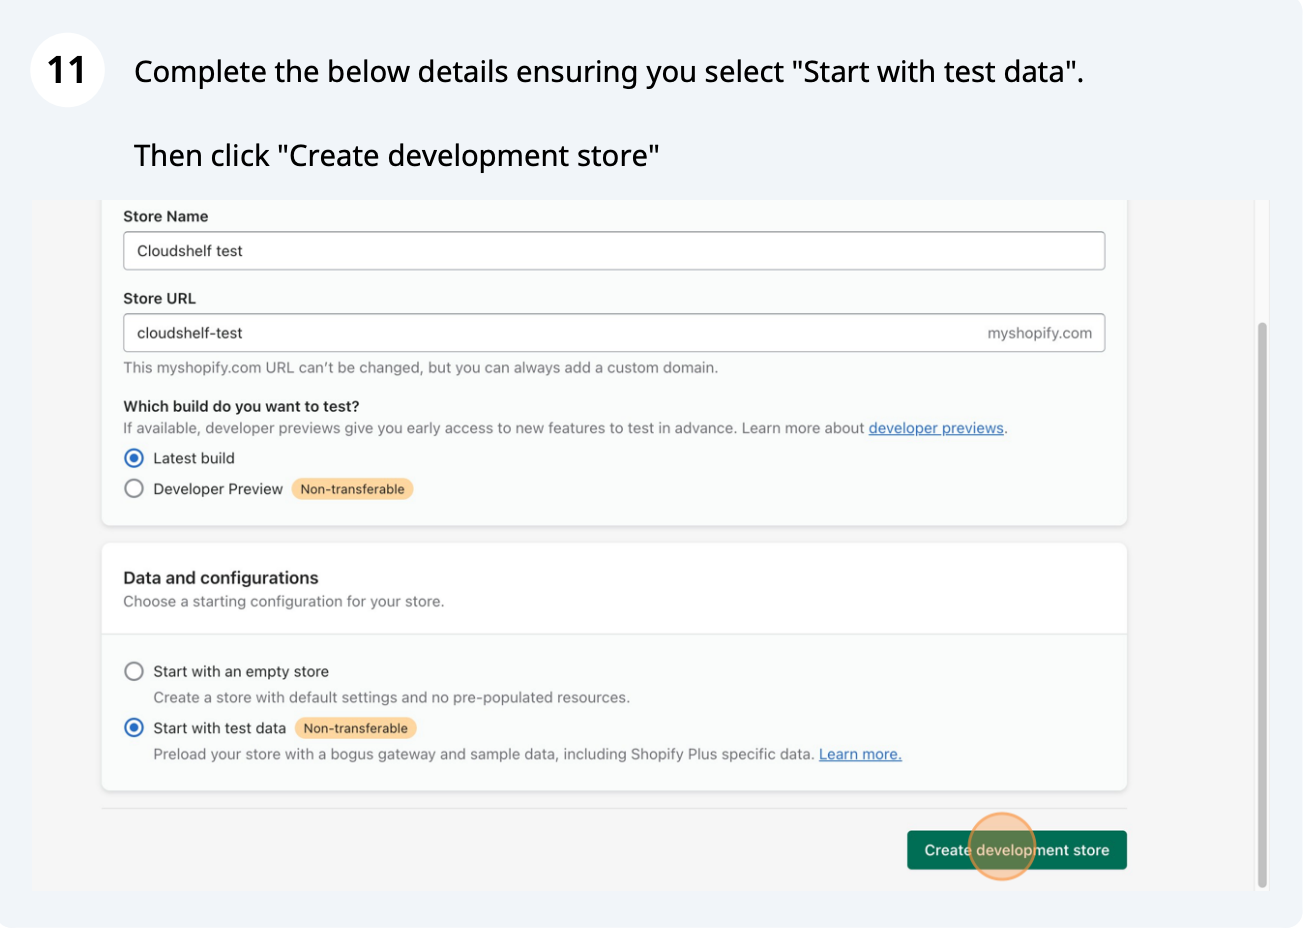
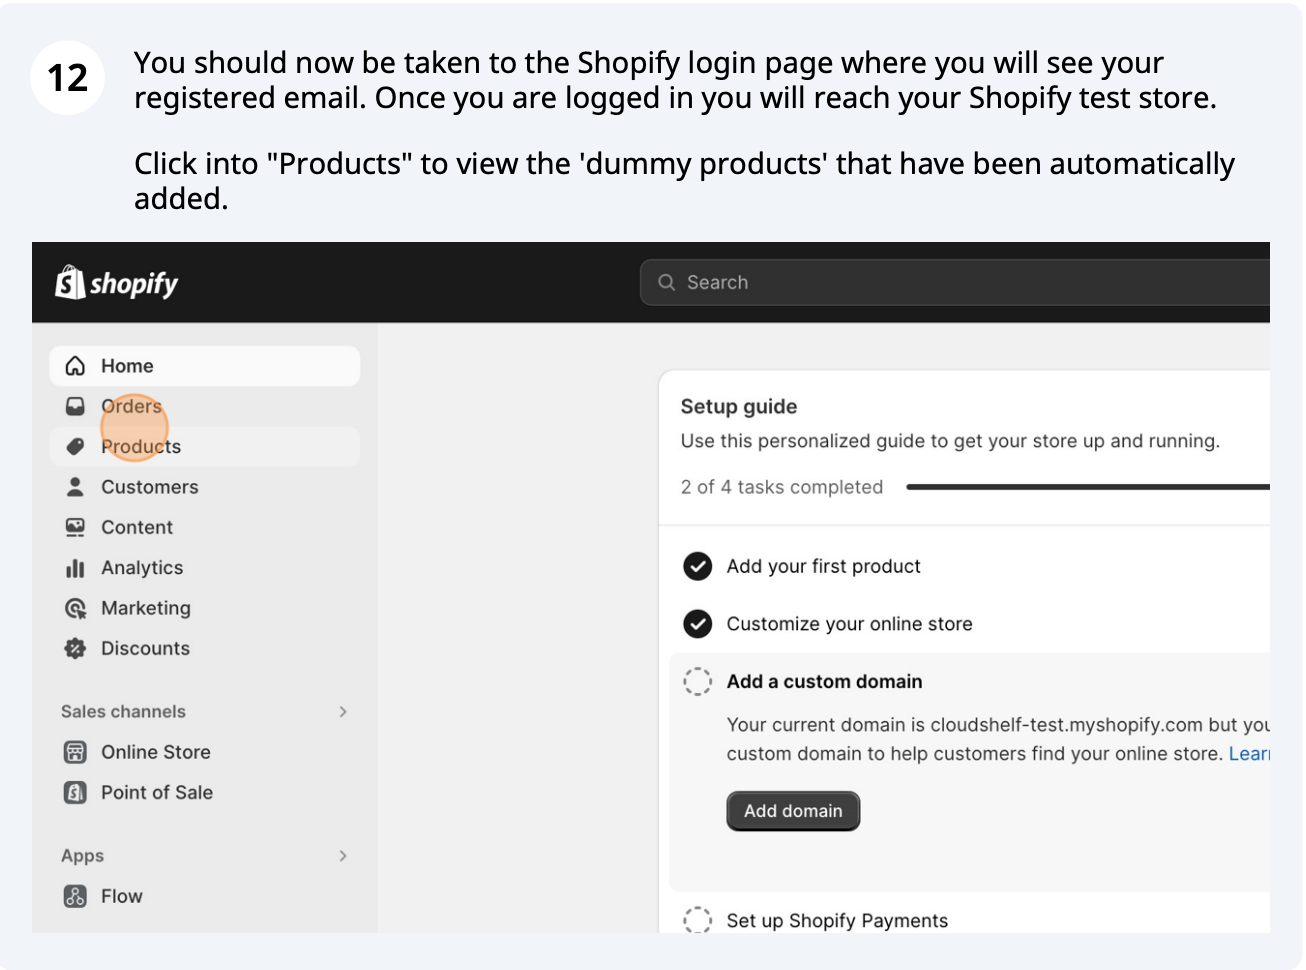
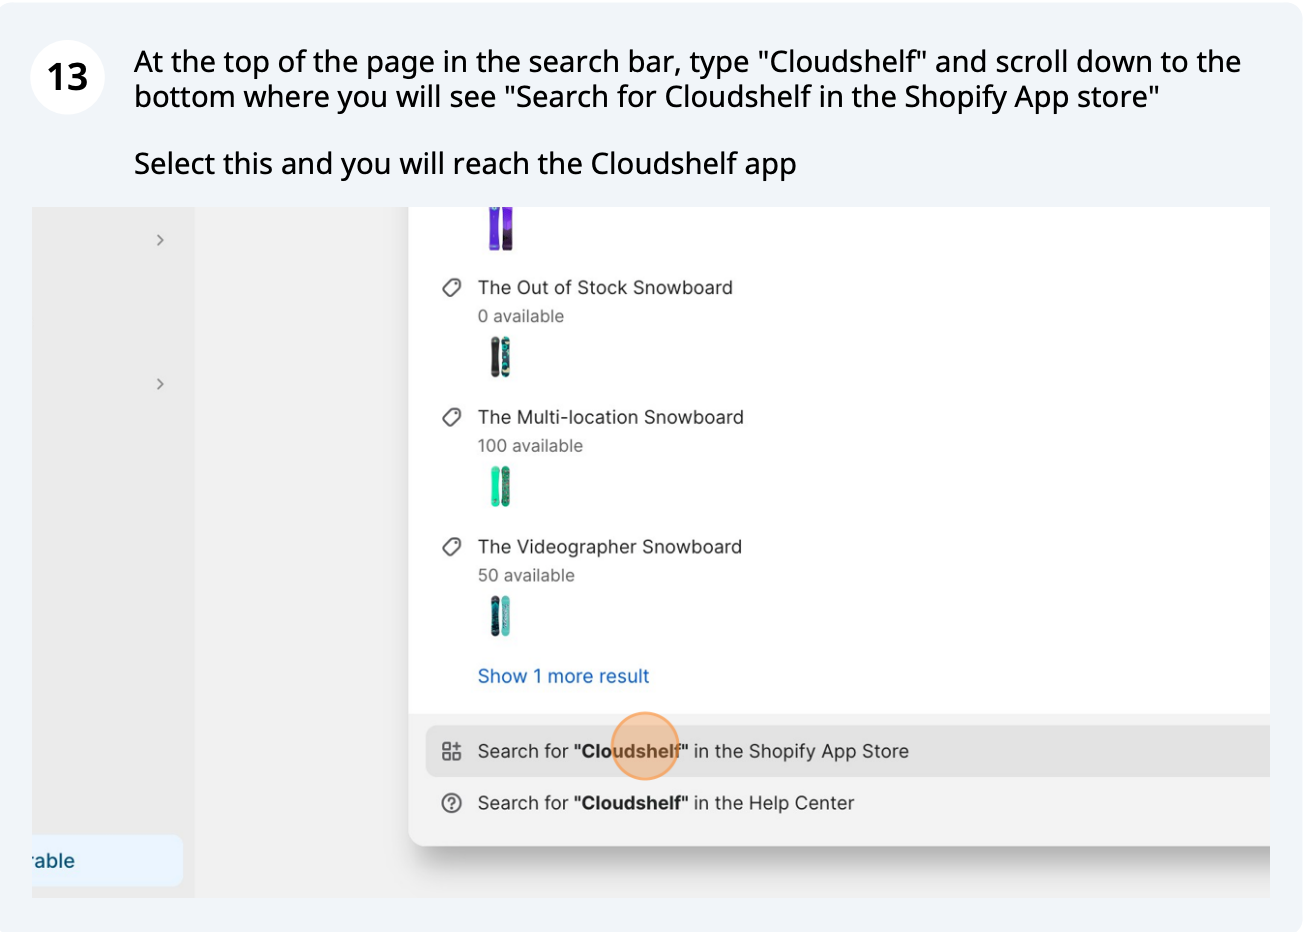
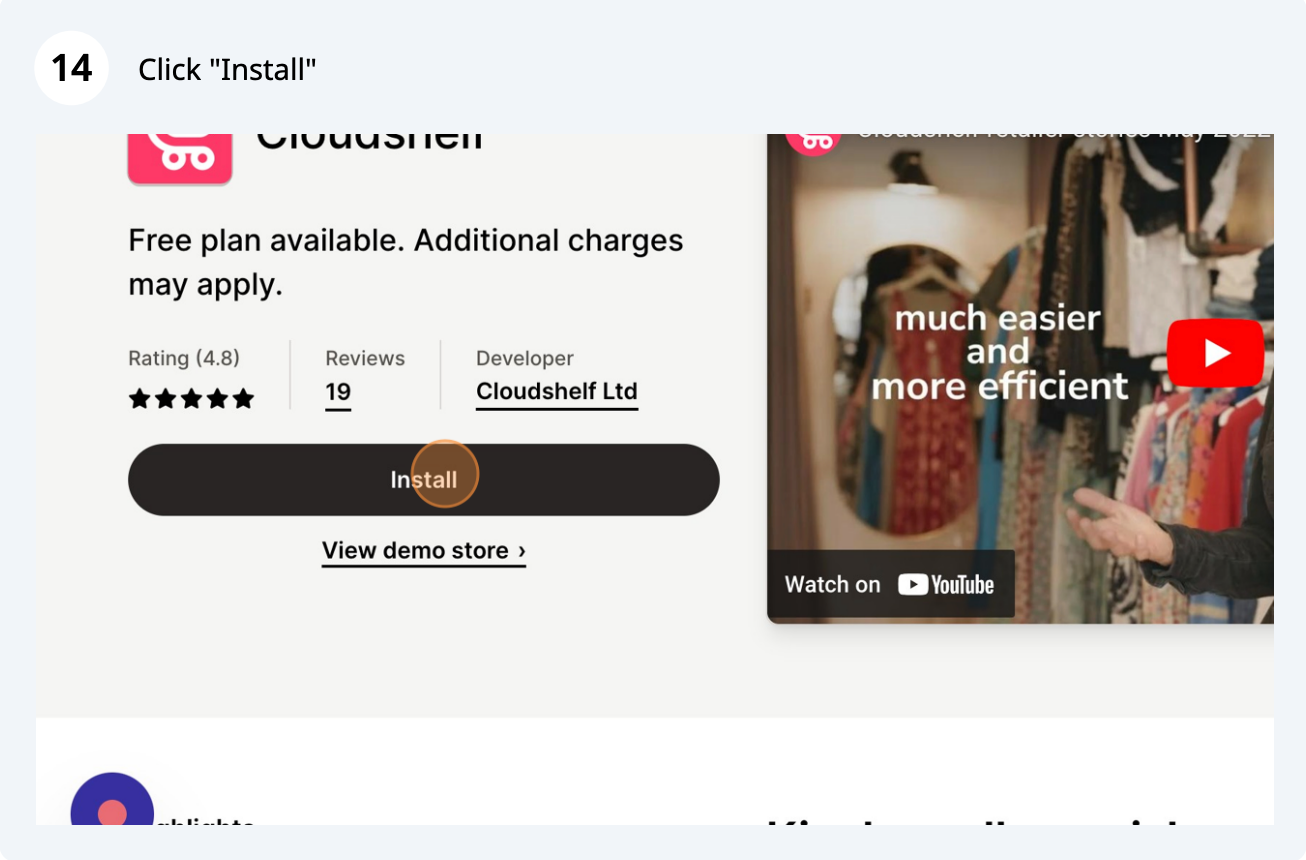
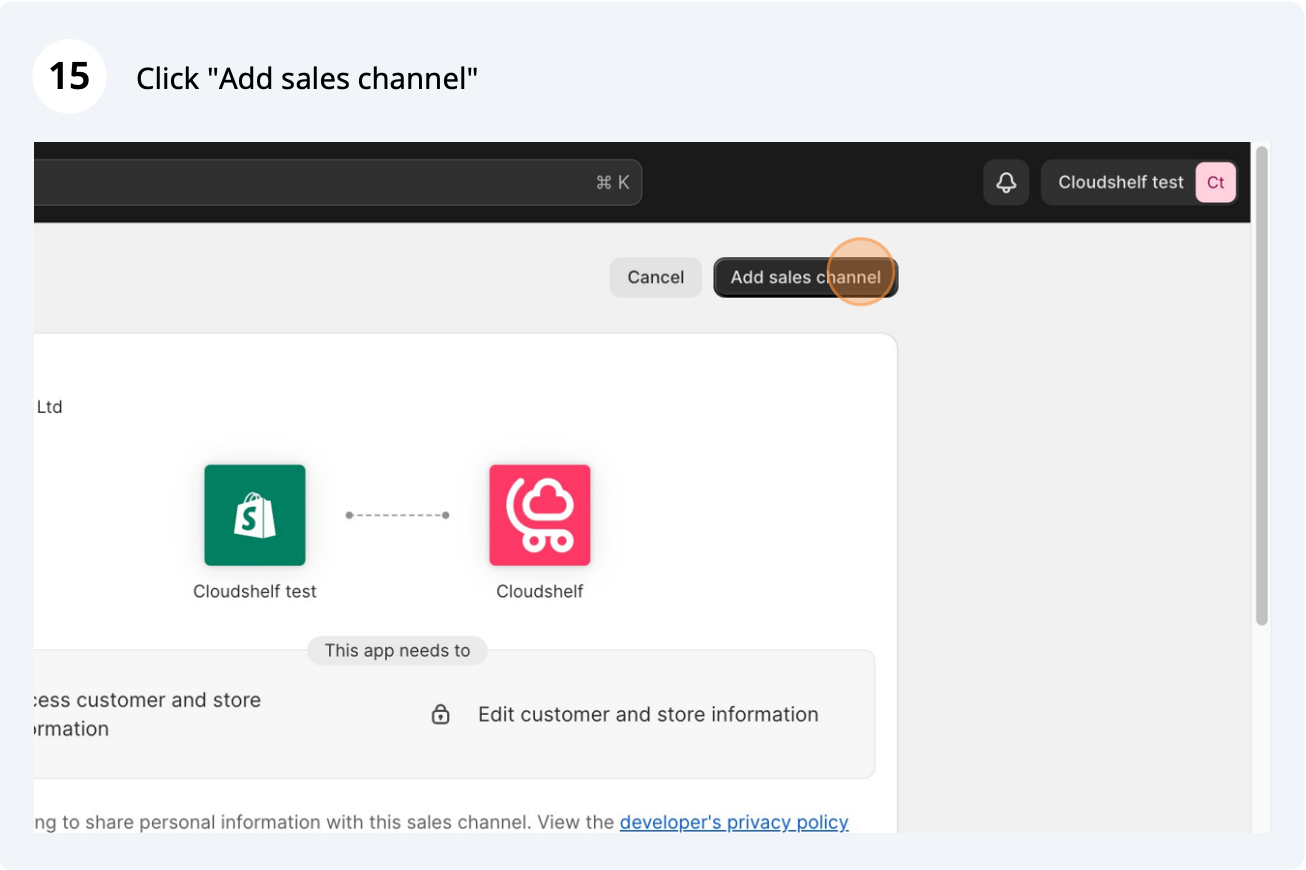
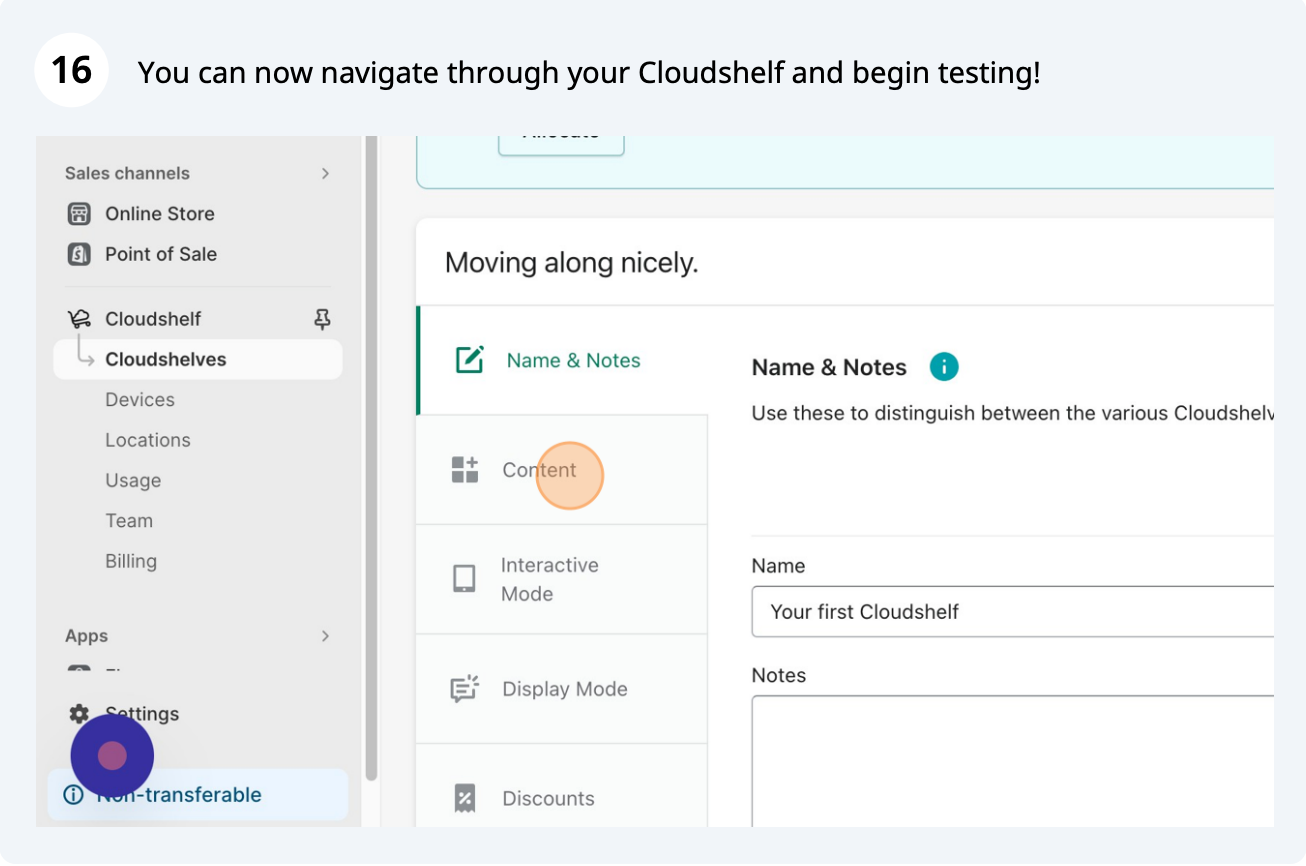
Here are the steps to create a Shopify demo store for testing the Cloudshelf app:


Importing your own test products
To import your own product data, use Shopify's example template: product_template.csv. A few notes on the format:
- each product has a unique handle and is on its own row
- each further variant is on the next row, starting with the product's unique handle
- each additional image is on the next row
- set column Q (Inventory tracker) to 'Shopify' and add a dummy quantity in column R (Variant Inventory Qty)
- for the demo, ignore the Google Shopping categories: they break the import unless they follow the correct syntax
- add a final column called 'Collection' with the collection or product group name you want in the Cloudshelf demo
Set up your demo device
See Video: setting up a new device.
Create a sales demo with your client's product data
See creating sales demos.
If you need any help with this, contact our support team on support@cloudshelf.ai.